
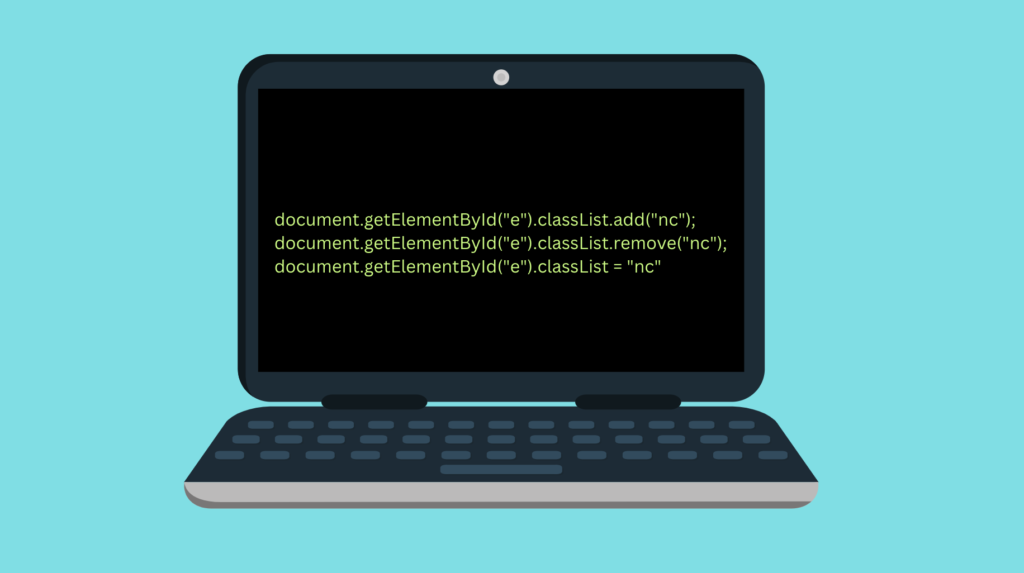
To change an HTML class using JavaScript, access the classList attribute of an element and do one of the following:
- Call the .add() function to add a new class.
- Call the .remove() function to remove a class.
- Overwrite the entire classList with your new class name.
Here are some examples:
// 1. Add a class
document.getElementById("MyElement").classList.add("myNewClass");

// 2. Remove a class
document.getElementById("MyElement").classList.remove("myNewClass");

// 3. Overwrite the classList
document.getElementById("MyElement").classList = "myNewClass"
Changing the HTML class happens this way because an HTML element can have multiple classes.
Notice that these approaches do not work with Internet Explorer versions before v10.
This is an in-depth guide on how to change the HTML class with JavaScript. The theory is backed up by great and illustrative examples.
Before we start, let’s discuss HTML classes and how a single element can have multiple classes.
HTML Elements Can Have Multiple Classes
Remember that an HTML element can have multiple classes!
This is important to understand because it affects the way we change the class later on in this guide.
You have probably seen examples of HTML elements that have a single class.
<p class="wrapper">Hello world!</p>
This <p> tag represents a class called “wrapper”.
But if you are a beginner in HTML, you might not know an element can have multiple classes.
For example, here is a <p> tag that represents 5 different classes:
<p class="column wrapper test1 test2 test3">Hello world!</p>
Here all the space-separated elements are classes that the <p> tag belongs to.
To access this particular <p> tag using JavaScript, pass any of the class names into the document.getElementsByClassName() method call.
For example, let’s print all the HTML elements that represent “test3“:
console.log(document.getElementsByClassName("test3"));
Output:
HTMLCollection [p.column.wrapper.test1.test2.test3]
As you can see, this action prints out our <p> tag because one of its classes is “test3“.
To access all the classes of an HTML element, call the built-in classList property of the element. Let me show you an example.
HTML:
<p id="example1" class="column wrapper test1 test2 test3">Hello world!</p>
JavaScript:
let elem = document.getElementById("example1");
console.log(elem.classList);
Output:
DOMTokenList(5) ['column', 'wrapper', 'test1', 'test2', 'test3', value: 'column wrapper test1 test2 test3']
Instead of getting a single result, a result is a DOMTokenList object. It stores all the classes that the HTML element represents. This naturally affects the way to change the class of an element. Luckily, the classList has a bunch of useful methods to allow modifying it.
Here is a step-by-step guide on how to modify the class(es) of an HTML element.
Change HTML Class with JavaScript: Step-by-Step Guide
To change the class of an HTML element, you need to:
- Access the HTML element in question.
- Modify the classList property of the element.
Here is a thorough step-by-step guide on how to do it. It includes a bunch of useful examples to support the theory.
Step 1: Access the HTML Element
To change the HTML class of an HTML element with JavaScript, you first need to access the element.
The standard way to accessing an element is by using the document.getElementById() function.
But keep in mind there are other ways to access the HTML element too. These include:
- document.getElementsByClassName(elementId). Returns an HTML collection of all the elements with a specific class name.
- document.getElementsByName(className). Returns an HTML collection of all the elements with a specific name.
- document.getElementsByTagName(tagName). Returns an HTML collection of all the elements with a specific tag name.
- document.querySelector(selectors). Returns the first element that matches the CSS selectors in the argument.
The point is not to teach how to access HTML elements. It simply reminds there are many ways to access elements in JavaScript.
In this guide, we mainly use the standard document.getElementById() function to access the element.
Next, let’s take a look at how to change the class of the HTML element.
Step 2: Change the HTML Class
As you learned earlier, an HTML element can have multiple classes. You can access these using the classList property.
This means you have a couple of options when it comes to modifying the class of an HTML element:
- Overwrite the entire classList. This deletes all the existing classes of the element.
- Add a new class to the classList. This action adds a new class to the mix of existing classes. The original classes are still present in the element after the action.
- Remove a class from the classList. Removes a particular class from the existing classes.
Let me show you some examples of each of these options.
Option 1: Overwrite the Existing Classes
To overwrite the classes of an HTML element, assign a string to the classList. This replaces the existing classes with a new class.
Here is an example.
Let’s say you have a <p> tag in your HTML document. Furthermore, the <p> tag in questions represents a bunch of classes:
<p id="example1" class="column wrapper test1 test2 test3">Hello world!</p>
Here is the JavaScript code that overwrites the entire classList with a single new class.
document.getElementById("example1").classList = "myNewClass";

// Let's verify the classes indeed changed
console.log(document.getElementById("example1").classList);
Output:
DOMTokenList ['myNewClass', value: 'myNewClass']
As a result, the original classes of the element are not present anymore. Instead, now the element has a single class “myNewClass” in the classList that it represents.
But as stated earlier, this might not be what you want to do. Instead, you might want to preserve the original classes and add a new one to the list.
Option 2: Add a New Class
One way to “change” the HTML element’s class is by adding a new class to the classList. After doing this, you can access the class with the new name.
To do this, call the element.classList.add() method.
Let me show you an example.
Here is an HTML <p> tag that represents a bunch of classes:
<p id="example1" class="column wrapper test1 test2 test3">Hello world!</p>
Here we use JavaScript to add a new class to the classList:
document.getElementById("example1").classList.add("myNewClass");

// Let's verify the classes changed
console.log(document.getElementById("example1").classList);
As a result, you see this output in the console:
DOMTokenList(6) ['column', 'wrapper', 'test1', 'test2', 'test3', 'myNewClass', value: 'column wrapper test1 test2 test3 myNewClass']
The new class “myNewClass” is now a new member of the original classList. Not a single class was removed or overwritten by this action. You can now access the element using the new class name or any other class name present.
Last but not least, let’s discuss how to remove a class from the classList.
Option 3: Remove a Class
To remove a class from an HTML element, use the element.classList.remove() method.
Let me show you a demonstrative example.
Here is a <p> tag that represents a bunch of classes:
<p id="example1" class="column wrapper test1 test2 test3">Hello world!</p>
Let’s use JavaScript to remove the class “test1” from the element:
document.getElementById("example1").classList.remove("test1");

// Let's verify the classes changed
console.log(document.getElementById("example1").classList);
Output:
DOMTokenList(4) ['column', 'wrapper', 'test2', 'test3', value: 'column wrapper test2 test3']
Now the element no longer represents the test1 class because we removed it. All the other class names are still present in the classList.
Now you know how to change the class of an HTML element using JavaScript.
FAQ
Last but not least, here are some commonly asked questions related to the topic.
How to Check If an HTML Element Represents a Class?
Given an HTML element, you can check if it represents a class by calling element.classList.contains() method.
Let me show you a demonstrative example.
Here is an HTML <p> tag that represents a bunch of classes:
<p id="example1" class="column wrapper test1 test2 test3">Hello world!</p>
Let’s check if this paragraph has a class called “test1“.
const hasElem = document.getElementById("example1").classList.contains("test1");
console.log(hasElem);
Output:
true
Because the element has a class called “test1“, the result is true. If there was no such class, false would be returned instead.
How to Change the HTML Class with JQuery?
With JQuery, you can use the built-in addClass() and removeClass() methods.
For instance:
$('#MyElement').addClass('MyClass');
$('#MyElement').removeClass('MyClass');
Also, to check if the element has a particular class in JQuery, use the hasClass method.
if ( $('#MyElement').hasClass('MyClass') ) { // actions }
How to Switch a Class On/Off from an HTML Element?
The classList comes with a useful method called toggle().
This adds a new class to the classList of an element if it’s not there yet.
If the class name already exists, this method removes it from the classList.
So it literally acts like a toggle.
Let me show you an example:
HTML:
<p id="example1" class="column wrapper test1 test2 test3">Hello world!</p>
JavaScript:
document.getElementById("example1").classList.toggle("test1");

console.log(document.getElementById("example1").classList);
Output:
DOMTokenList(4) ['column', 'wrapper', 'test2', 'test3', value: 'column wrapper test2 test3']
Because test1 was originally in the classList, the toggle() method removed it.
Let’s see another example where the element does not exist yet.
HTML:
<p id="example1" class="column wrapper test1 test2 test3">Hello world!</p>
JavaScript:
document.getElementById("example1").classList.toggle("test4");

console.log(document.getElementById("example1").classList);
Output:
DOMTokenList(6) ['column', 'wrapper', 'test1', 'test2', 'test3', 'test4', value: 'column wrapper test1 test2 test3 test4']
In this case, the toggle() method added a new class to the classList. This is because the class did not already exist on the list.
Conclusion
Today you learned how to change the HTML class of an element.
To recap, an HTML element can have multiple classes. Thus, you cannot access or change a single class. Instead, you need to access the list of classes and operate on it.
To change the HTML class list:
- Access the HTML element. For example, use the document.getElementById() method.
- Add a new class or overwrite the entire list of classes via the classList property. For example, use the element.classList.add() method.