

In Swift, you can use class inheritance to introduce a parent-child hierarchy to your program.
The idea is that the inherited child class has all the properties and attributes of the parent class.
As an example:
class Pet {
    var name = "Luna"
    var owner = "Alice"
}

// Inherit Pet to Cat class
class Cat: Pet {
    var lives = 9
}

// Cat has now all Pet properties
var myCat = Cat()

print(myCat.name)
print(myCat.owner)
print(myCat.lives)
Output:
Luna
Alice
9
Inheritance is a feature that only classes have in Swift. For example, you cannot inherit a struct.
In this guide, you learn how to inherit a class. More importantly, you learn why and when you should do this.
Class Inheritance
As you learned in the previous chapter, a class is a blueprint for creating objects in Swift. A class lets you organize code so that related values and methods are found in the same objects.
Similar to how classes let you organize code, you can use class inheritance to organize classes themselves.
For example, if you have two classes that are related, you can possibly use inheritance to inherit properties from one class to another.
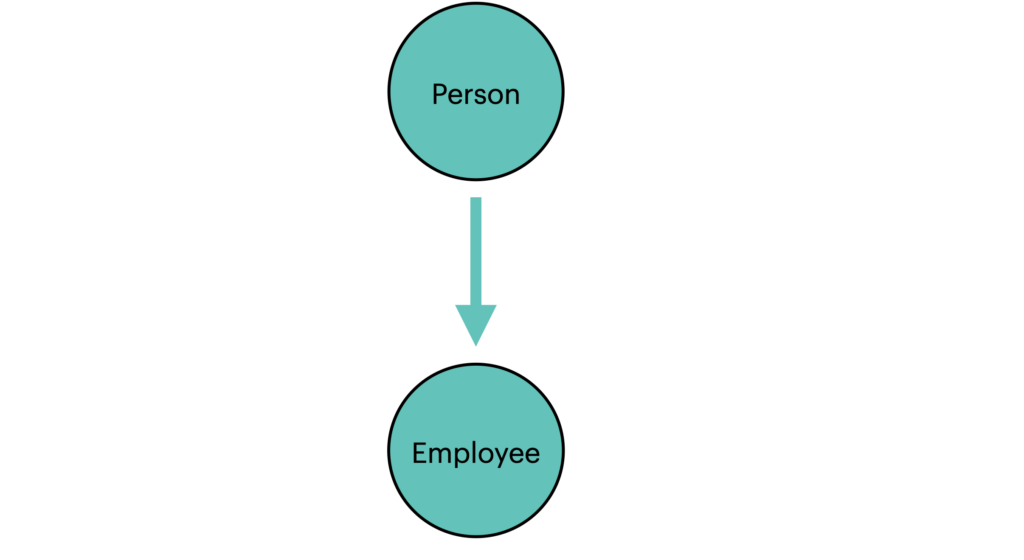
For example, if you have a Person class and an Employee class, you can make Employee inherit Person. This makes sense because you know that each employee is also a person.
With inheritance, you can avoid unnecessary repetition in your code. This is because you don’t need to re-write the properties and methods in different classes. Instead, you can implement them once and use inheritance to bring them to the child class.
Inheritance Syntax
The inheritance happens by inserting a colon after the class name. Then you specify the name of the class from which you want to inherit.
In Swift, the syntax for class inheritance looks like this:
class ChildClass: ParentClass {
    // class implementation here
}
Here ChildClass is the name of the new child class that inherits ParentClass.
To see this in action, let’s see an example.
Let’s say you have a Person class that stores the name of a person.
class Person {
    var name = "Alice"
}
Now, let’s create a class Employee that stores the name and the job title of an employee. But because you already have the Person class, you can make the Employee inherit it.
class Employee: Person {
    var title = "Researcher"
}
After doing this, an Employee object now has two properties:
- name. This comes from the parent class Person.
- title. This is created for the Employee class itself. The Person class doesn’t have this property.
Now, let’s create an Employee object:
var emp1 = Employee()

print(emp1.name)
print(emp1.title)
Output:
Alice
Researcher
Here is the full code for your convenience:
class Person {
    var name = "Alice"
}

class Employee: Person {
    var title = "Researcher"
}

var emp1 = Employee()

print(emp1.name)
print(emp1.title)
Feel free to play with this code to further understand how it works.
Next, let’s talk about methods and inheritance.
Class Method Inheritance
In the previous example, you learned how properties are inherited from a parent to a child class.
This applies to methods as well.
Let’s see an example.
Here we have a Pet class that describes pets. It has a makeSound() method to represent the sound that a pet makes. In our case, we default to “Meow!”.
Here is how it looks in code:
class Pet {
    var name = "Luna"
    var owner = "Alice"

    func makeSound() {
        print("Meow!")
    }
}
Now, let’s create a Cat class that inherits the Pet:
class Cat: Pet {
    var lives = 9
}
Then let’s create a Cat object. Now you can call the makeSound() method on the Cat object. This is because it inherits the makesound() method from the Pet class.
var myCat = Cat()
myCat.makeSound()
Output:
Meow!
This works as expected.
But what if you wanted to change this inherited behavior? For example, if you inherit the Pet to a Dog class, you want to change the sound the dog makes.
Next, let’s discuss overriding inherited methods.
Overriding Parent Class Properties and Methods
In Swift, you can override inherited properties.
To do this:
- Use the override keyword
- Provide the new implementation to the property/method.
Let’s continue with the Pet example from the previous section.
class Pet {
    var name = "Luna"
    var owner = "Alice"

    func makeSound() {
        print("Meow!")
    }
}
What if you want to create a child class called Dog that inherits Pet?
The problem is that by default, the Pet object says “Meow!”. But you don’t want a Dog to say “Meow!”.
To fix this, override the inherited makeSound() method using the override keyword:
class Dog: Pet {
    var weight = 30

    override func makeSound() {
        print("Woof!")
    }
}
This overwrites the makeSound() method with a custom implementation for Dog. Now Dog objects say “Woof!” while Cat objects still do “Meow!”.
For example:
var myCat = Cat()
myCat.makeSound()

var myDog = Dog()
myDog.makeSound()
Output:
Meow!
Woof!
Overriding is useful if you want to inherit properties but to customize some of them.
Here is the full code of this chapter for your convenience:
class Pet {
    var name = "Luna"

    func makeSound() {
        print("Meow!")
    }
}

class Cat: Pet {
    var lives = 9
}

class Dog: Pet {
    var weight = 30

    override func makeSound() {
        print("Woof!")
    }
}

var myCat = Cat()
myCat.makeSound()

var myDog = Dog()
myDog.makeSound()
Feel free to mess around with the code and make sure to understand how each line of it works.
The ‘super’ Keyword in Swift
In a parent-class-child-class hierarchy, the child class sees the parent class as a superclass.
When overriding methods of a parent class, you can access the parent class method via the super keyword.
To demonstrate this, let’s continue with the Pet and the Cat classes.
Let’s override the implementation of makeSound() method in a Cat class so that instead of making a sound once, it makes the sound three times:
class Pet {
    var name = "Luna"

    func makeSound() {
        print("Meow!")
    }
}

class Cat: Pet {
    var lives = 9

    override func makeSound() {
        super.makeSound()
        super.makeSound()
        super.makeSound()
    }
}

var myCat = Cat()
myCat.makeSound()
Output:
Meow!
Meow!
Meow!
Let’s take a closer look at this piece of code to see what happens:
    override func makeSound() {
        super.makeSound()
        super.makeSound()
        super.makeSound()
    }
The override keyword states that we are overriding the parent classes makeSound() method.
However, because the overridden method uses the original method, you need to call it from the parent class. This happens via the super keyword
This example demonstrated how to use the super keyword in Swift.
However, this particular example is not the most typical way to use it.
Next, let’s see a common use case for the super keyword when customizing the init method in a child class.
Customize the Child Class ‘init()’ Method
When dealing with classes, you can specify an initializer to the class for initializing objects with some initial values.
As you learned in the previous chapter, this is possible by implementing the init() method.
When you inherit a class, the init() method is also inherited by the child class.
Sometimes the init() method might not exactly work the way you want.
In this case, you can customize it for the subclass.
However, it is important to understand that to write a custom init() method, you need to call the parent classes init() method!
This happens via super.init().
This is a safety feature in Swift that makes your code less susceptible to errors.
In some cases, your parent class can do some important work when it is initialized. You definitely want to make sure this important is done in the child class as well. Because you always have to call the super.init(), it leaves no room for a mistake.
Let’s see an example of customizing the init() method in a child class.
Let’s create a Dog class that stores the name and the breed of the dog:
class Dog {
    var name: String
    var breed: String

    init(name: String, breed: String) {
        self.name = name
        self.breed = breed
    }
}
To create Dog objects, you need to call the Dog class with arguments name and breed. If you read the previous chapter about classes, this is something you know already.
Now, let’s create a class for Golden Retriever dogs that inherits the Dog class.
class GoldenRetriever: Dog {

}
This class now behaves exactly the same way as the Dog class because it inherits everything from it.
When you initialize a Dog object, you have to give it two arguments: The name and the breed.
However, when you initialize a Golden Retriever object, the breed is always going to be Golden Retriever. Thus, it would be unnecessary to specify the breed argument when creating the object.
To improve the code, let’s write an alternative init() method for the Golden Retriever class:
class GoldenRetriever: Dog {
    init(name: String) {
        super.init(name: name, breed: "Golden Retriever")
    }
}
The custom init() calls the init() method of the Dog and always uses the “Golden Retriever” as the breed argument.
Now you can initialize a GoldenRetriever object by only giving it a name:
let dog = GoldenRetriever(name: "Ollie")
This is handy as you do not need to specify the breed argument as it will always be the same.
You can also verify its breed is always Golden Retriever:
print(dog.name)
print(dog.breed)
Output:
Ollie
Golden Retriever
Struct Inheritance in Swift: Not Possible!
Earlier in this series, you learned how structs work in Swift.
As you may remember, structs are a lot like classes.
Furthermore, you learned that you should prefer structures over classes as much as you can.
However, one thing that classes do and structs don’t is inheritance.
An example of when you cannot use a struct is when you need inheritance. To create a parent-class-child-class hierarchy in your code, use a class instead of a struct.
Conclusion
This guide taught you how class inheritance works in Swift.
To inherit a class, use a colon after the child classes name and specify the inherited parent class.
class ChildClass: ParentClass {
    // class implementation here
}
When you inherit a class in Swift, all the properties and methods of the parent class are inherited by the child class.
Inheritance is a great way to organize your code that consists of classes.
With inheritance, you can avoid code repetition. This is because you only need to implement the behavior once inherit by the subclasses.
Usually, the inherited behavior is not exactly what you want.
To modify the inherited properties/methods, you can override them. This happens via the override keyword.
Also, you can specify a new initializer method for the subclass. In this case, you will always need to call the parent classes init() method via super.init().